Remove an image background can be time-consuming, but Canva makes it easy! In this article, you will learn how to quickly remove an image background using Canva’s powerful background remover tool (aka the “bg remover”).
Note: this tool is currently available for Canva pro members only, I recommend you subscribe to it to enrich your design and empower your techniques! Click here to subscribe Canva Pro membership
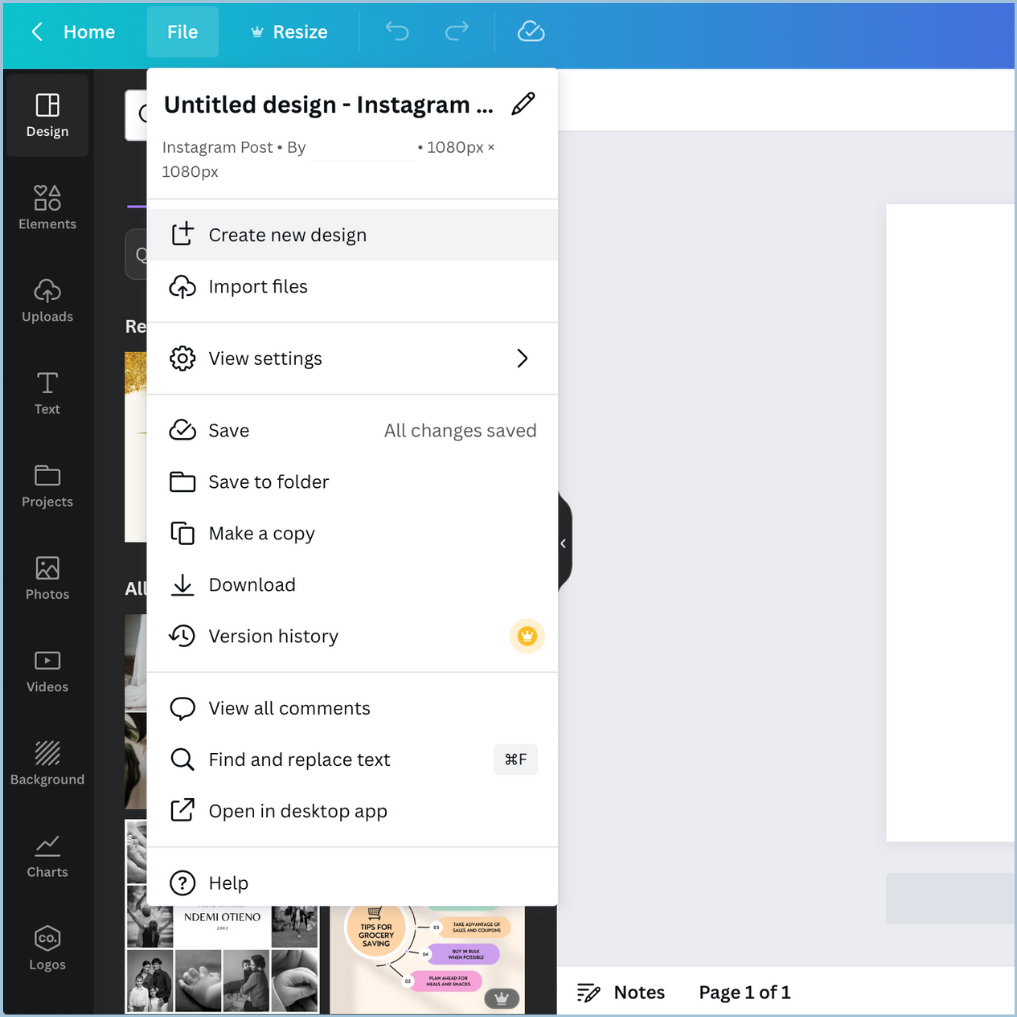
Step 1: Create new design
Click “File”, Select “Create new design”, then choose the format and size that you want to create:
step 2: choose the image and add it to the page
You may use your own image by uploading it to Canva, or using one of its keyboard shortcuts – the “/Magic Command” (super user-friendly!) just by pressing the ” / ” key, enter relevant keywords and search the image you want.
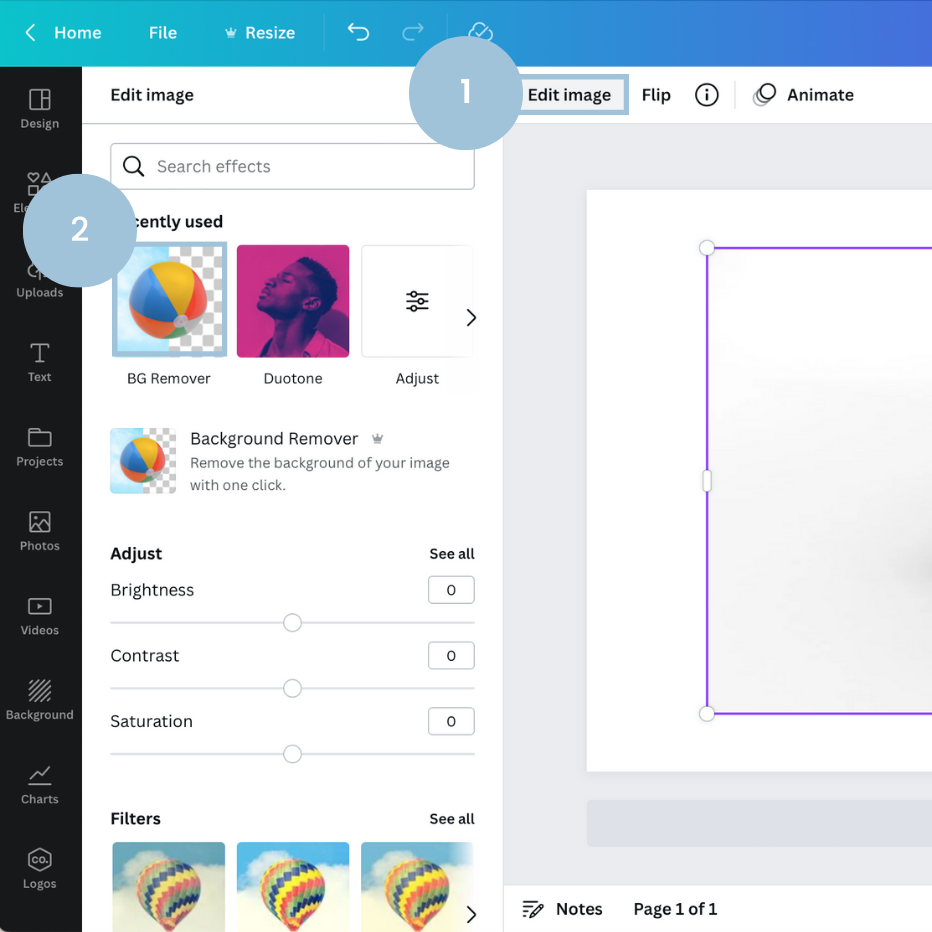
STEP 3: Apply the background remover tool and let it do the work!
Select the image, then click “Edit Image”, you will see the bg remover icon. Click the icon and let Canva do the work!
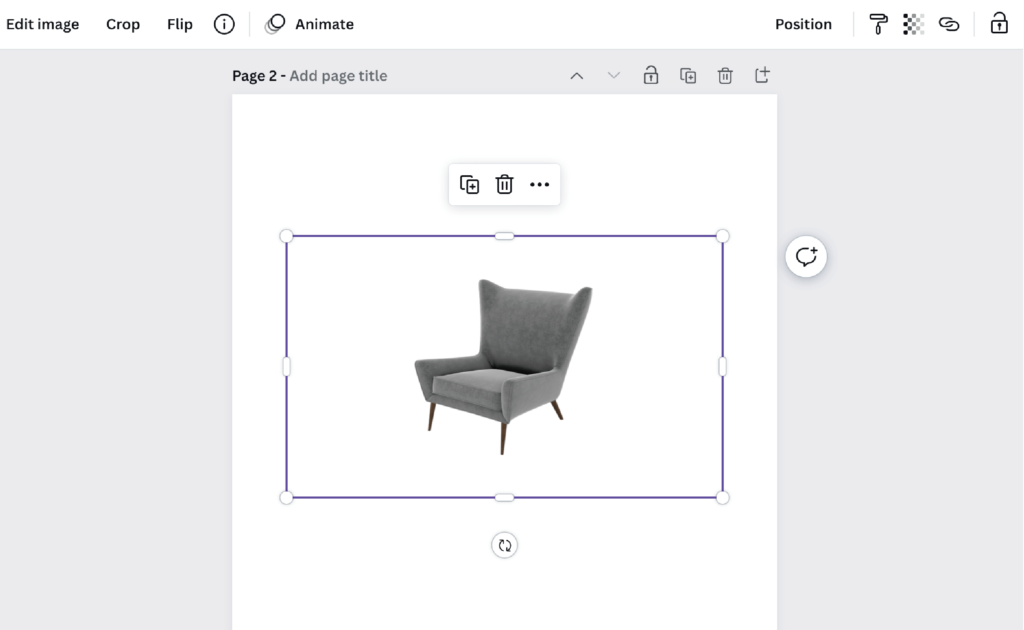
When finished, your image will be like this:
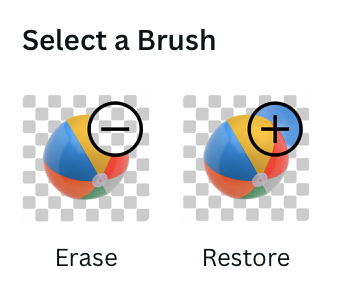
STEP 4: fine-tune the IMAGE BY APPLYING THE erase and restore BRUSHES
If you found some parts of the object missing, or the unwanted parts still exists, you may apply the erase and restore brushes to fix it. Just select one of the brushes, and apply it on the part you want to adjust:
Easy peasy, isn’t it? It’s your turn to try!

